How I built: Faber brand bar
I do a lot of web development work for Bookswarm. Mostly it's WordPress theme building, but sometimes something a little different like the Faber Brand Bar comes along.
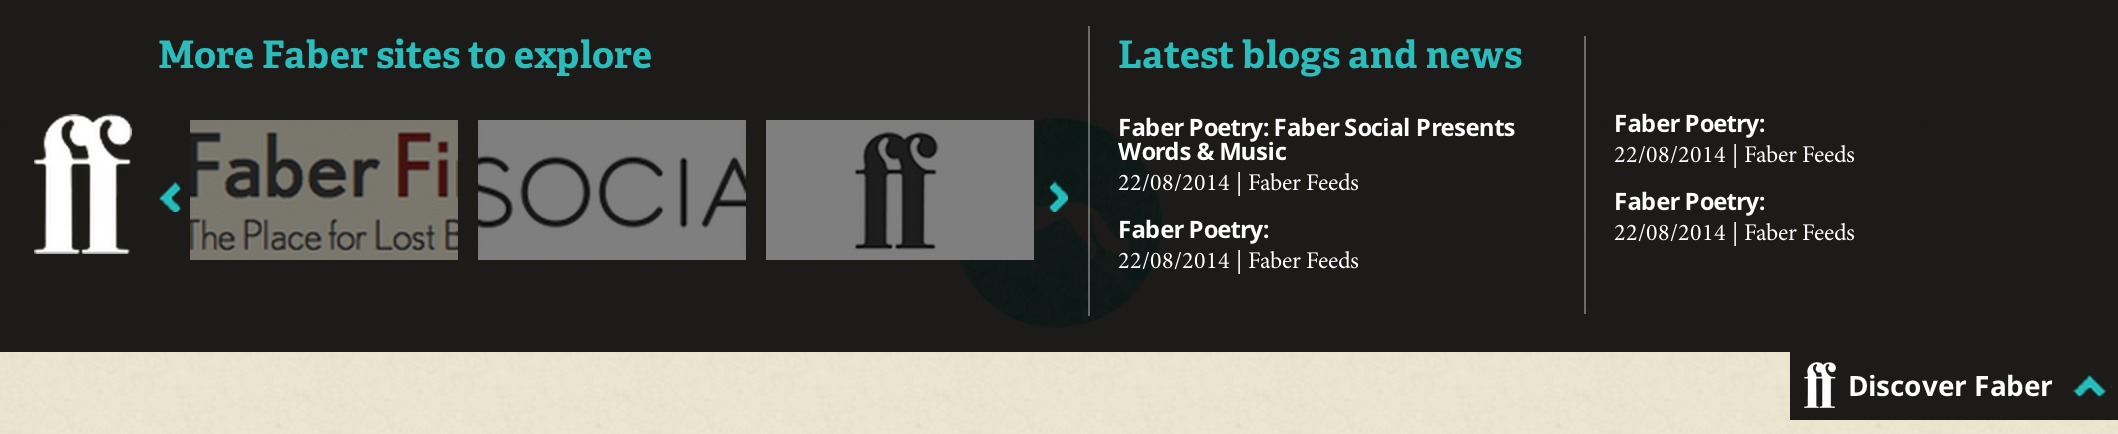 Faber brand bar open on The Thought Fox website
It needed to be responsive, include thumbnails/links to selected other Faber sites (but not to itself), have it's own accent/title colour, be centrally managed and easy to install on future sites.
The easiest solution was to use jQuery to store the info for each site into a faberSites two-dimensional array, and to create the brandbar based on this. Each site's info was stored in an array within this array, for example:
var faberSites = {
    1: ['sitename.co.uk','#2bbdbc','100%','responsive','sitelogo.png','tooltip blurb','arrows-turq.png'],
    2: ['sitename2.co.uk','#ab3029','100%','responsive','sitelogo2.png','tooltip blurb2','arrows-red.png','dev'],
    //etc..
}
So each site has it's domain name, accent colour, width (100% for responsive, otherwise width of the site), responsive or not, thumbnail image, tooltip blurb, and a sprite image of the various arrows needed in the accent colour. Optionally 'dev' could be added to the end of array, for working on a brandbar on a dev version of a site. The dev site won't appear on the live sites brand bars.
Using jQuery, the HTML for the brandbar is created and stored in a variable, and is then added to the
of the document using prepend();The values set in in the array of sites defines the colours, tooltips etc, and where the current site equals the sitename in the array, it is just skipped from the scroller part 'More Faber sites to explore':
// loop through each site, and create a list of the sites for the scroller, getting their respective images (value[4]). Also set tooltips.
$.each(faberSites, function(index, value) {
    //skip current site
    if(value[0] == currentSite) {
        return true;
    }

    //don't show dev site on live sites
    if((value[7] == 'dev') && (value[0] != currentSite)) {
        return true;
    }

    //add each site to the siteList variable, used to create the 'more sites to explore' scroller
    siteList+=('<li id="panel1" class="als-item"><a href="http://www.'+value[0]+'"><img src="'+source+value[4]+'" width="134" height="70" /></a></li>');
    toolTips+=('<li id="tip'+num+'" class="tooltip"><div class="inner">'+value[5]+'</div></li>')
    num++;

});
The siteList list items were then added to the rest of the HTML that creates the brandbar, along with the relevant font colour and arrows.
The brandbar files (js, css, images, thumbnails) are stored on the server, and then initialised on the relevant Faber sites by including links to the js/css in the header.
Seems easy enough, but there were some things I hadn't thought of. Some of my brandbar css rules weren't specific enough and got overwritten by the css for the site itself. This was mostly just font size issues and were easily resolved, but it goes to show how important and useful css specificity is.
Leave Your Comments
blog comments powered by Disqus